

Switching workspaces
Select the workspace avatar at the top of the sidebar. The switcher lists every workspace you can access and your role in each one. Choosing a workspace reloads the dashboard with that workspace’s data. Your selection affects only your own session. Other members keep their current workspace.Creating another workspace
Open the workspace switcher and choose New workspace. The dialog shows whether your account can create another workspace and prompts you to choose a name. The number of additional workspaces depends on your plan and the Extra Workspaces add-on — extra capacity bought per additional workspace from Settings → Plan, the same way the other capacity add-ons work. Joining someone else’s workspace does not consume your creation allowance. Existing workspaces remain accessible if your allowance later changes; the limit applies when creating a new one. Each new workspace starts separately, so review its plan and billing before adding production resources. It does not inherit the plan or the credits of your first workspace: a subscription applies to the workspace it was bought in, a new workspace starts at zero credits, and credits cannot be moved between workspaces you own — there is no shared pool to split. Subscribe to a plan or buy a top-up inside every workspace that should place calls. Transfers exist only for white-label resellers funding their customer workspaces, see Credit balances & transfers.Workspace profile
Open Settings → Workspace to view and edit the active workspace’s identity and defaults: its logo, name, company website, timezone, date format, country, and the default language for members who haven’t chosen one themselves. Owners and admins can change these fields; every other role sees the same fields read-only. A new workspace detects its country from the signup or first-use location; an owner or admin can replace that choice at any time. The page also shows the workspace ID — read-only, and the value to quote in support requests and API calls.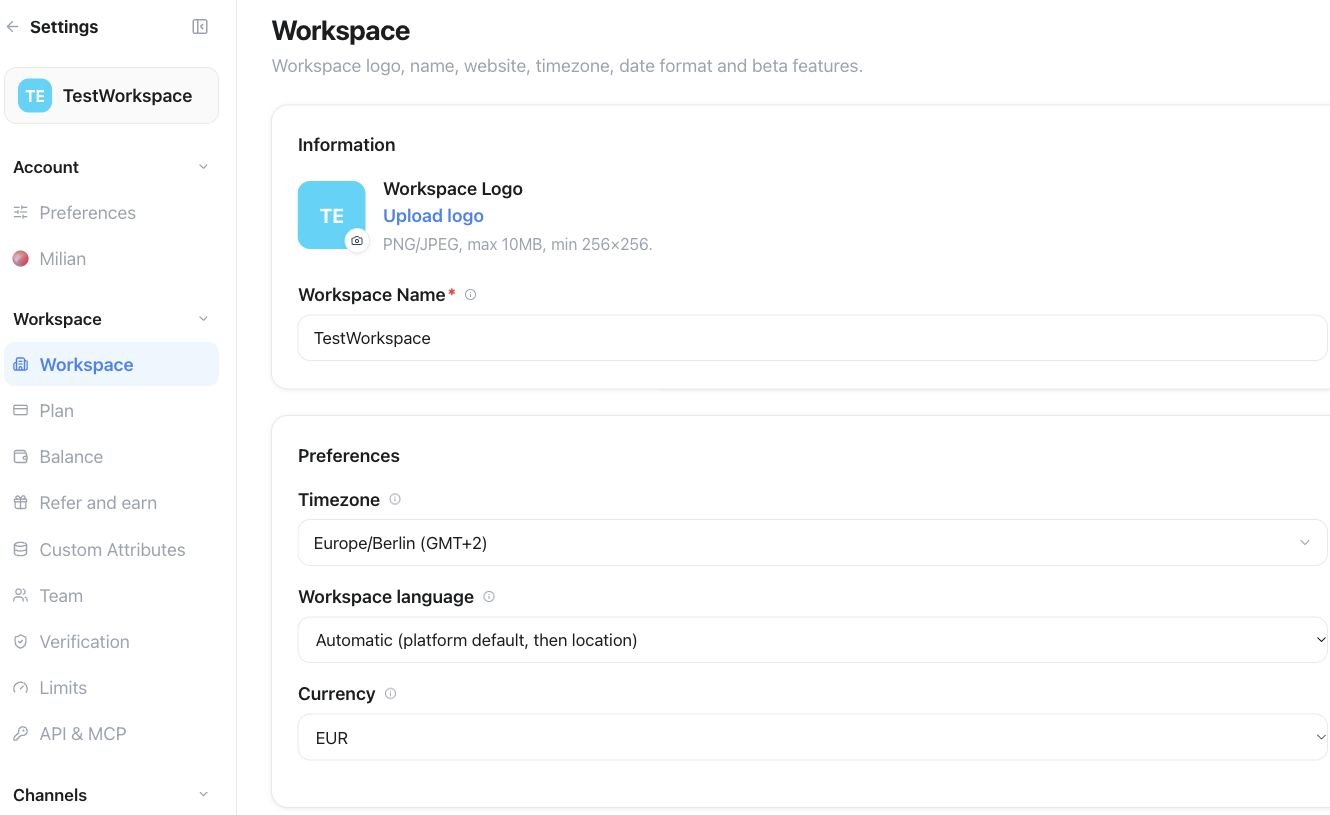
Settings → Workspace: use Upload logo and Workspace Name for the workspace identity, then review Timezone and Workspace language.

Settings → Workspace → AI inference region: choose Global, EU or US for workspace AI processing.
Roles and team management
Open Settings → Workspace → Team in the workspace where the person should work. Invitations and roles apply only to that workspace, and a person can hold a different role in each workspace they belong to — owner in one, member or viewer in another. The Team panel always shows the active workspace’s name to help prevent inviting someone into the wrong account.Roles
Inviting a member
Owners and admins add a member one of two ways:- Invite by email — sends an email with a link to set a password. An existing account is added directly and notified by email instead of getting an invite link.
- Create with a password — set a name and an initial password (at least 8 characters) yourself, with no email round-trip.
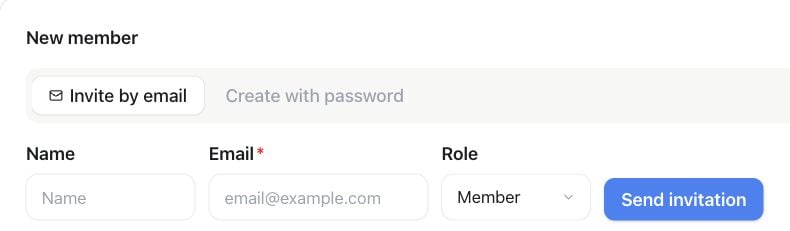
Settings → Team → Invite member: choose Invite by email, enter the member’s details and Role, then select Send invitation.
Managing a member
From a member’s row, owners and admins can:- Change role in the row’s Actions menu — select a role and choose Save role.
- Send a login link — emails a single-use link that signs the member in without a password and expires shortly after, useful when someone is locked out.
- Remove them — drops their access to this workspace only, without affecting any other workspace they belong to, and leaves their Famulor account itself intact.
Transfer ownership
The current owner opens the new owner’s Actions menu and chooses Transfer ownership. Review the member and confirm. The previous owner remains an admin. Pending invitees must accept their invitation first. Other admins cannot transfer ownership. Only the new owner can transfer it again. Plan, credits, numbers, and workspace data stay in place. Billing email, address, and payment methods remain unchanged; the new owner can update these through billing settings. Login email and historical invoices are not changed. User-bound API keys and OAuth connections of the previous owner are revoked when their role changes; workspace service credentials remain in place. Team listing, role changes and ownership transfer are available through REST and MCP. Invitations and member removal remain available in the Team panel.REST API
List the workspaces visible to the credential:settings:read to list workspaces and settings:write to create one. A workspace-only service credential can list its own workspace but cannot create a workspace on behalf of a person.
Read or update the country of the workspace bound to the credential:
settings:read; changing it requires settings:write. Send null to return to automatic location detection on the next dashboard or sign-in request.
Create a dedicated API key for a workspace returned by the list endpoint:
settings:write. The credential’s user must currently be an owner or admin in the selected workspace, and the workspace must belong to the same brand as the credential. It works for regular multi-workspace accounts and does not require white-label access. Members, viewers, billing users, and workspace-only service credentials cannot use it.
The new key is permanently bound to the selected workspace. Its scopes cannot exceed the calling credential, and it cannot outlive a calling credential that already has an expiry. The plaintext key appears only in the successful response, so store it immediately and do not retry a successful request automatically. A newly created workspace may receive its key before plan activation, but normal API calls with that key remain plan-gated.
Workspace-capacity and extra-member add-ons have separate jobs: workspace capacity controls creating additional workspaces, while member capacity controls invitations. Neither adds another requirement after a user already has an owner/admin role in the target workspace.
MCP
list_workspaceslists the workspaces visible to the connected user.create_workspacecreates a workspace when the connected user has remaining allowance.create_workspace_api_keycreates a dedicated key for a visible workspace where the connected user is an owner or admin.get_workspace_countryreads the active workspace country.update_workspace_countrysets an ISO two-letter country code or returns to automatic detection.
Message labels
New incoming messages can receive a Possible scam label. Unsolicited sales pitches, SEO offers and paid award promotions in email can receive Advertising. Labels appear beside the message and in the History list after background processing. These are advisory hints and may be wrong. Messages remain visible, replies continue as usual, and no message is moved, deleted or marked as spam in a connected mailbox, including Gmail. No label does not mean a message is safe. Booking and customer enquiries should remain unlabelled. Workspace owners and admins can switch Message labels on or off in Settings → Workspace, when included in their plan. Changes apply to new messages; existing labels remain. Members with write access can dismiss an incorrect label in the message details. History API responses and the history MCP tools include active labels. Usedismiss_inbox_label to dismiss one, and get_inbox_label_settings / update_inbox_label_settings to manage the workspace setting.