

What you can move
Migration works at the workspace level: pick a source workspace and a target workspace (either can be your own reseller workspace), then select which resources to bring along:- Assistants
- Phone numbers
- Tools
- Web widgets
- Custom dashboards
- Automations
- Campaigns
- Prompt templates
Knowledge bases stay in the source workspace. Recreate them in the destination and reconnect your assistants after the migration. Saved announcements are prepared again for the destination workspace.
Destination access and tool names
The preview checks destination capacity, enabled assistant modes, MCP access and tool names. Each reseller customer workspace has five included tools while it has plan or prepaid access. Additional tools use paid add-on capacity. Connect AI (MCP) can be enabled in customer plans, including zero-price plans, or in prepaid defaults. This permission is separate from the tool count and REST API access. Reusable tools and assistant MCP connections share the workspace tool allowance. A reusable tool assigned to several assistants counts once. When a tool name already exists in the destination, the preview shows its new name. Both tool behaviors are preserved. Wait for active calls to finish before transferring an assistant. Open Whitelabel Admin → Data Migration → Migrate. Begin with From (source workspace) and To (destination workspace). This screenshot shows the initial state before either workspace is selected; no migration has run.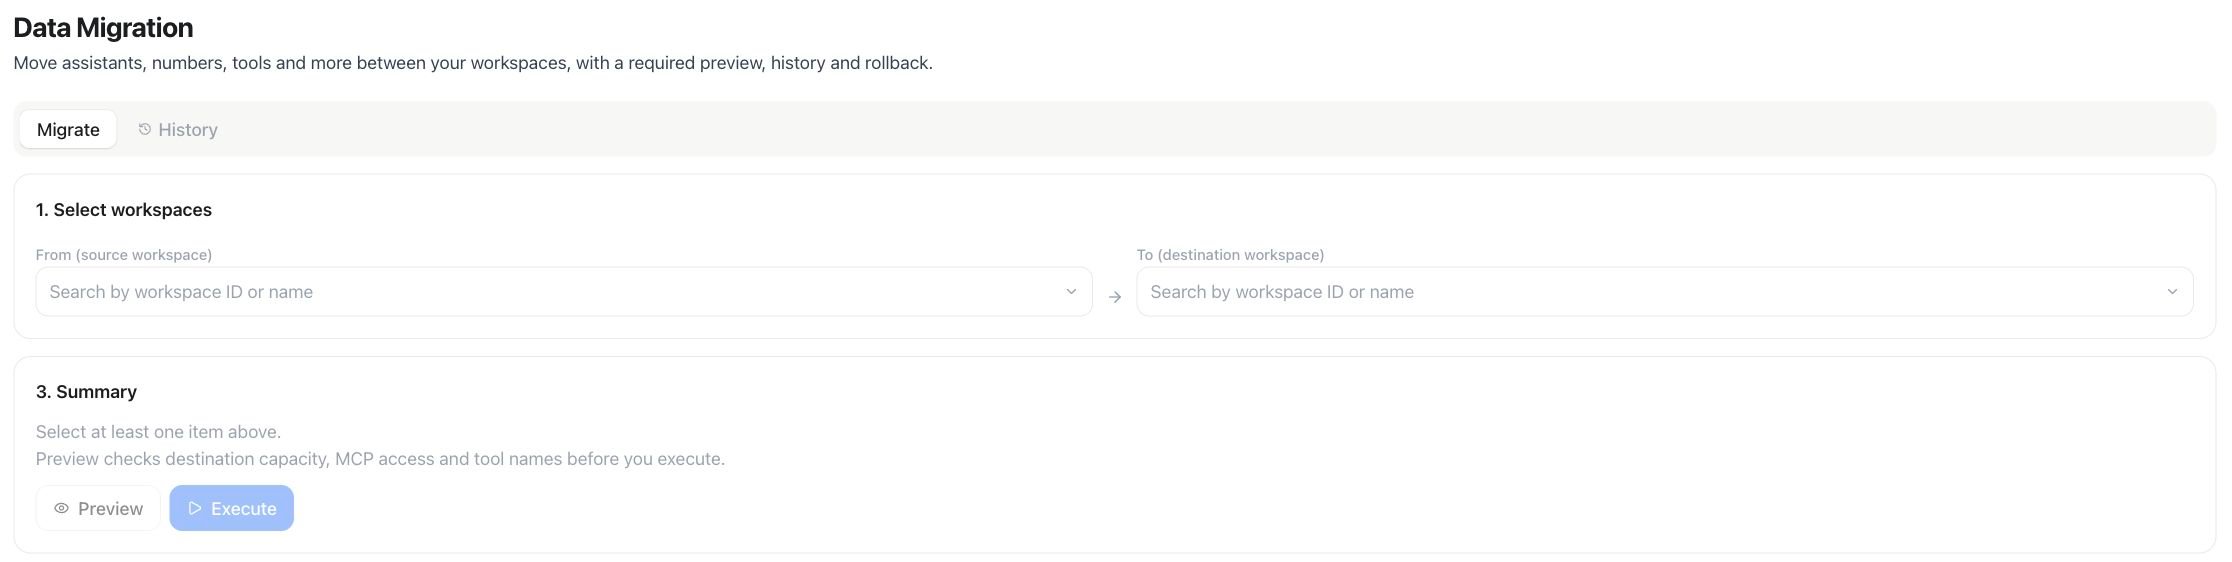
Data Migration — choose source and destination before previewing a transfer
Run a migration
1
Pick source and target
Under 1. Select workspaces, use From (source workspace) and To (destination workspace) to search by workspace name. Both must belong to your reseller platform.
2
Select resources
Once a source is chosen, its candidates load — every eligible resource in that workspace, not filtered by owner. Check the ones to move.
3
Choose the target owner
Use New owner in destination workspace to pick which member should own the moved resources.
4
Preview and execute
Run Preview, review any renamed tools, and resolve all reported blockers. Then choose Execute. Changing the workspaces, owner, selection or dependency options requires a fresh preview.